

Apps and App Info
Each app keeps its own items, versions, builds, release notes and brand assets. App Info holds everything else about it, from its key to its App Store text.
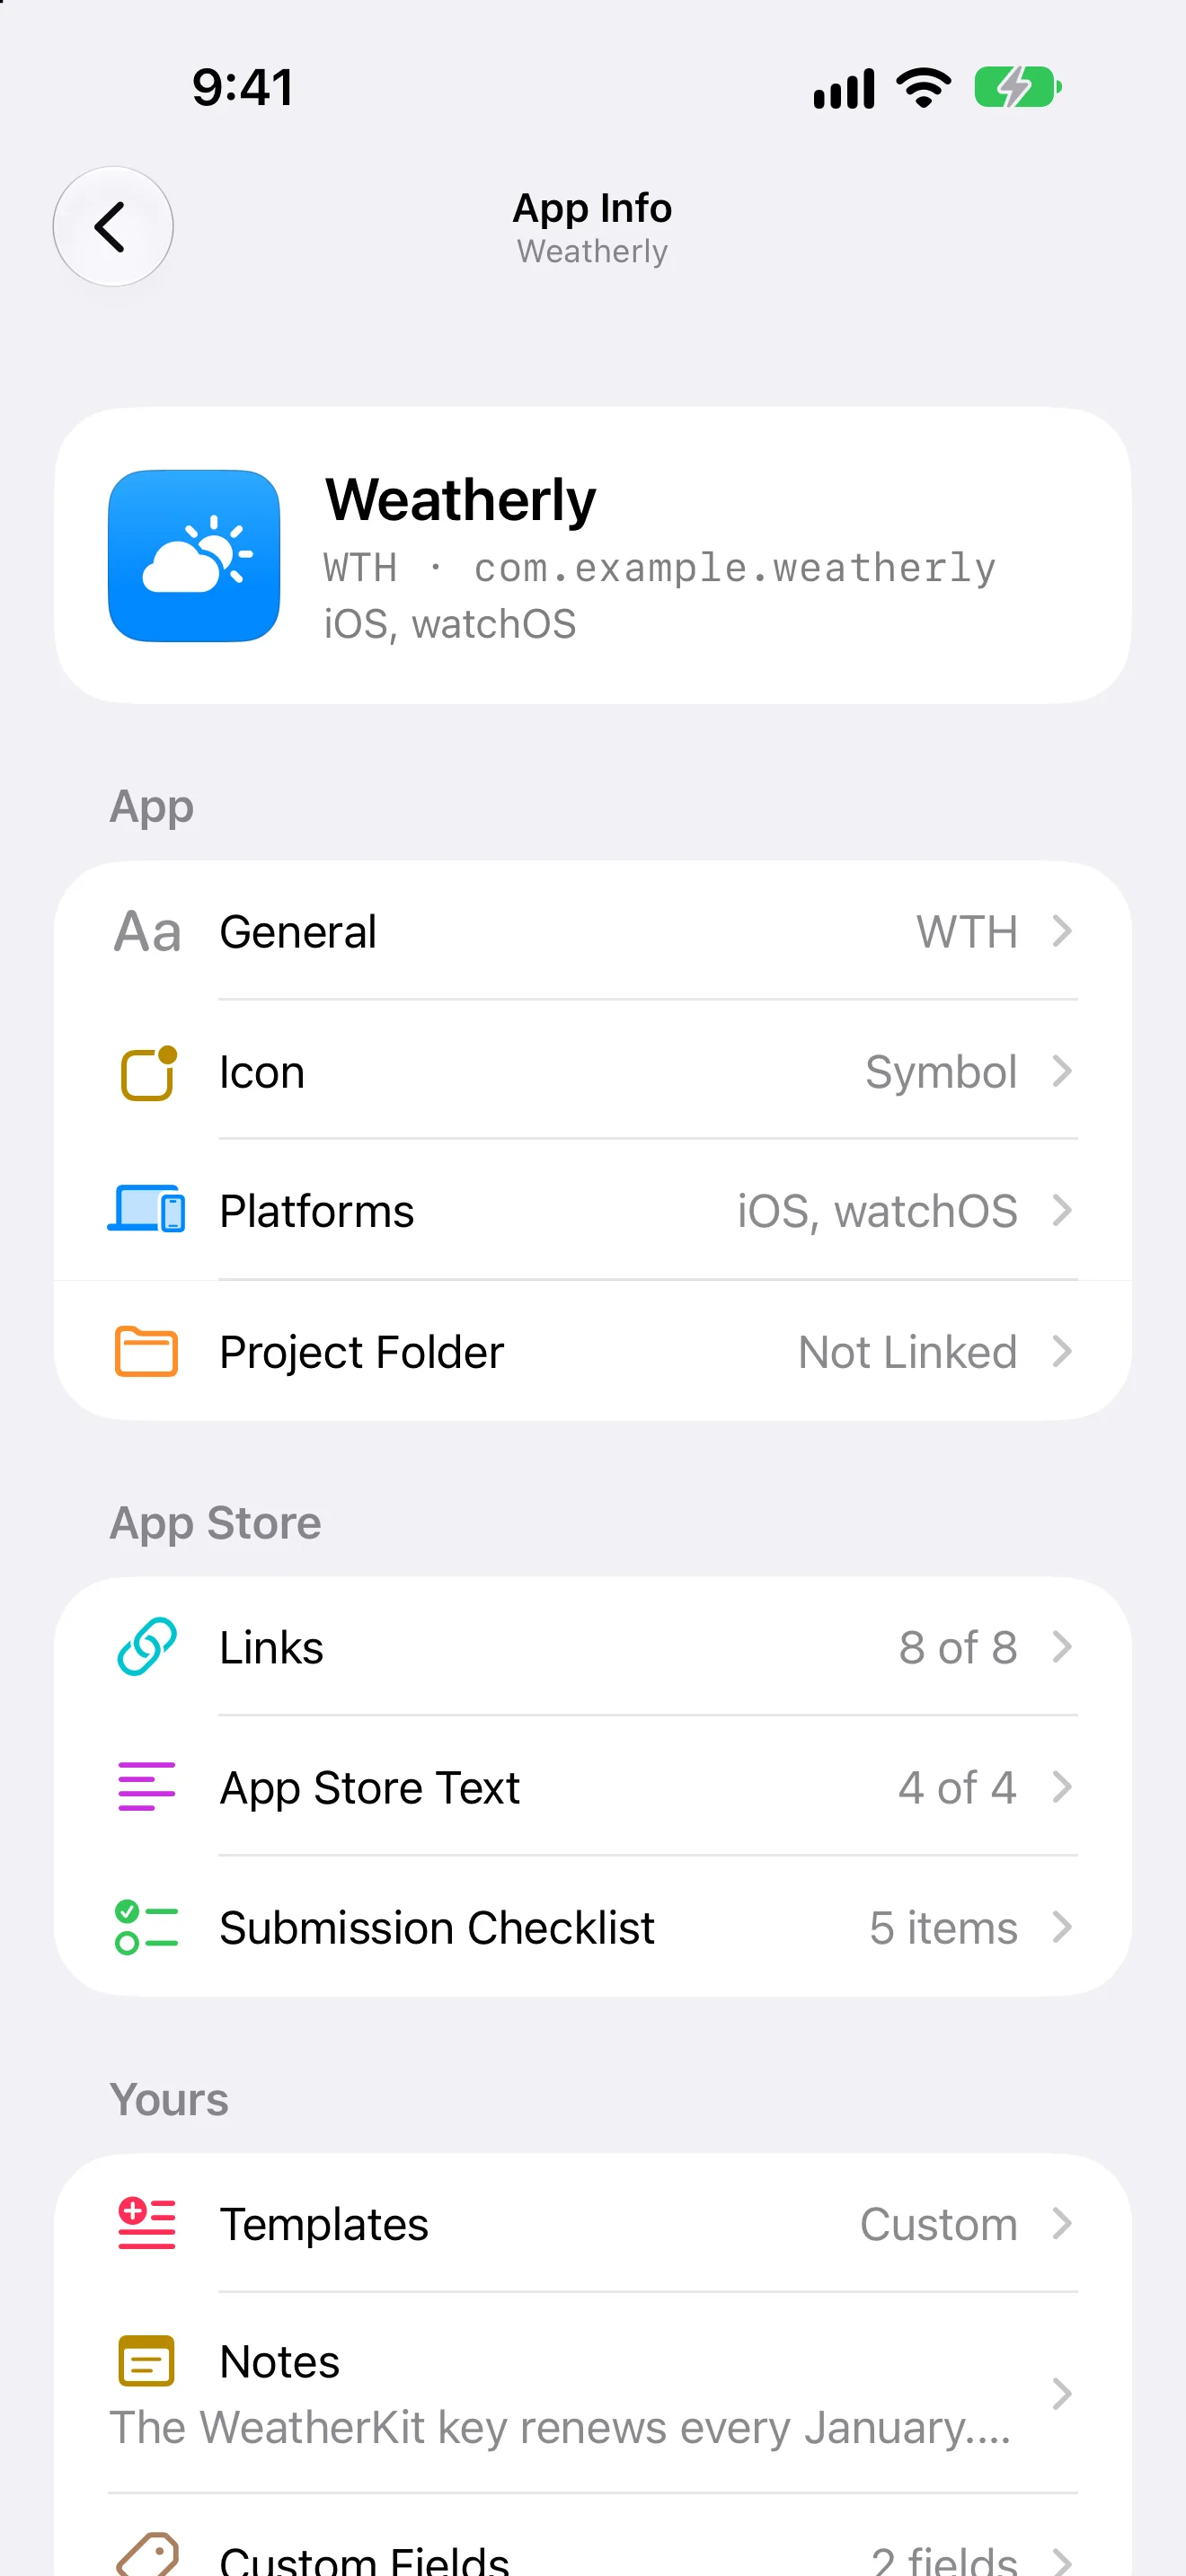
Open App Info
Choose Info on the app’s page, or press ⌘I. App Info has ten sections.
- General
- Name, key, bundle ID, TestFlight, build numbers and archiving.
- Icon
- The app’s icon, or a symbol and color.
- Platforms
- Where the app ships.
- Project Folder
- The folder DevBench reads on this device.
- Links
- App Store, TestFlight, support and repository.
- App Store Text
- Subtitle, promotional text, keywords and description.
- Submission Checklist
- What to check before App Review.
- Templates
- Release notes and What to Test.
- Notes
- Free-form notes about the app.
- Custom Fields
- Labeled details of your own.
The key and item IDs
The key starts every item’s ID, like WTH-12. Keys are up to six letters and numbers, start with a letter, and can’t match a key another app uses now or used in the past.
- You can change the key in App Info ▸ General. Item IDs change with it, from WTH-12 to NEW-12, and links and searches that use the old IDs keep working.
Icon
Use the app’s own icon or a symbol and color.
- Choose Icon File… takes the app’s Icon Composer file (.icon), or a PNG, JPEG or HEIC image.
- Use Icon from Project reads the icon from the linked project folder. DevBench looks for an Icon Composer file or an AppIcon set in the project’s asset catalogs.
- Remove Icon goes back to the symbol and color.
Platforms
Choose where the app ships: iOS, iPadOS, macOS, watchOS, tvOS or visionOS. An item can then say which of those platforms it’s about, and lists and the Board can filter by platform.
Build numbers
In App Info ▸ General, Build Numbers sets how DevBench suggests the number for each new build of the app.
- Date and Time
- The date and time to the minute, as your device shows them, such as 202611181530.
- Incrementing
- One more than the app’s highest build number: 1, 2, 3 and so on.
- Custom
- You type each build number. DevBench doesn’t suggest one.
- If you’ve linked a project folder, DevBench suggests the build number it finds there instead.
Apps that skip TestFlight
In App Info ▸ General, turn off Uses TestFlight to take TestFlight out of the app’s release pipeline. Builds then go from your Mac to App Review.
Project folder
With a folder linked, App Info ▸ Project Folder shows the version and build number DevBench found, the file it read them from, and the current branch.
- DevBench reads Xcode projects, Info.plist files, and Project.json or project.yml project specs, in the folder or one level down, plus the branch from the folder’s git repository. If your version is set somewhere else, such as an .xcconfig or pubspec.yaml file, type build numbers yourself.
- On Mac, Show in Finder reveals the folder and Open in Xcode opens its workspace or project.
- Choose Another Folder… links a different folder. Remove Link stops DevBench reading the folder and leaves the folder itself alone.
- On Mac, the Coding Agents row sets the folder up for the coding agents you use. Choose Connect, or Update if DevBench says a connection needs fixing.
- On Mac, Exports for Coding Agents lists the exports saved to the project, so you can delete the ones you’re done with.
Links
Keep the app’s addresses in one place: App Store, App Store Connect ID, TestFlight Public Link, Privacy Policy, Support URL, Support Email, Marketing URL and Repository. They show on the app’s Overview, ready to open or copy.
- The App Store Connect ID is the app’s Apple ID, a number shown under App Information in App Store Connect. With it filled in, you can choose Open in App Store Connect.
Notes and custom fields
Notes holds anything worth keeping with the app: decisions, accounts, reminders. Custom Fields adds labeled details of your own, such as a SKU or an analytics link. Each field can be copied, and a field that holds a link can be opened.
Archive an app
Touch and hold or Control-click an app and choose Archive. An archived app keeps everything, moves under Archived at the end of the sidebar, and leaves the smart lists. Choose Unarchive to bring it back.
Delete an app
In App Info, choose Delete App… The app’s items, versions and builds go with it to Recently Deleted, where you can recover them until they’re deleted permanently.