

Getting started
DevBench runs on iPhone and iPad with iOS and iPadOS 27 or later, and on Mac with macOS 26 or later. One purchase covers all three.
The welcome tour
The first time DevBench opens, a short tour follows a bug from a screenshot to the App Store: you capture it, your coding agent fixes it, and the build with the fix ships. Then DevBench asks whether to sync with iCloud, helps you add your first app, and captures your first item. You can skip the tour or any step.
- Already use DevBench on another device? Choose Use iCloud and the tour lists the apps it finds, so you don’t add them twice.
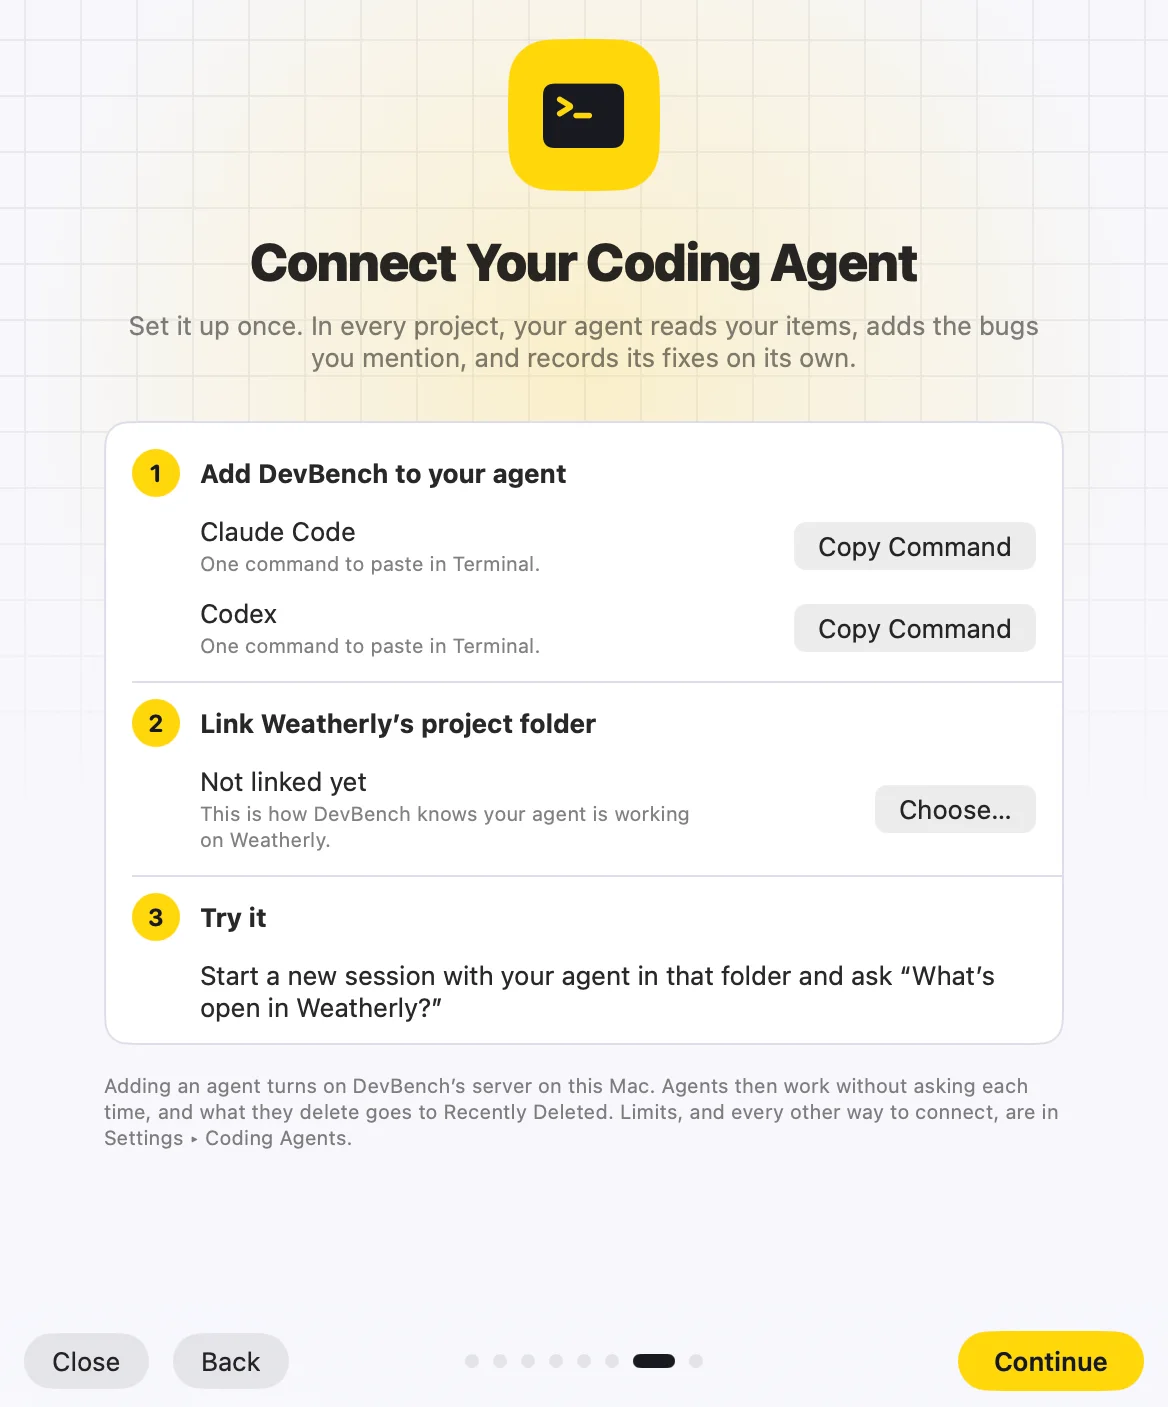
- On Mac, the tour ends with Connect Your Coding Agent: add DevBench to your agent, link your app’s project folder, and try it.
- To see the tour again on Mac, choose Help ▸ Welcome Tour. On iPhone and iPad, go to Settings ▸ Show Welcome Tour.
Add an app
- On Mac, choose File ▸ Add App… (⇧⌘N). On iPhone and iPad, tap the + next to Apps.
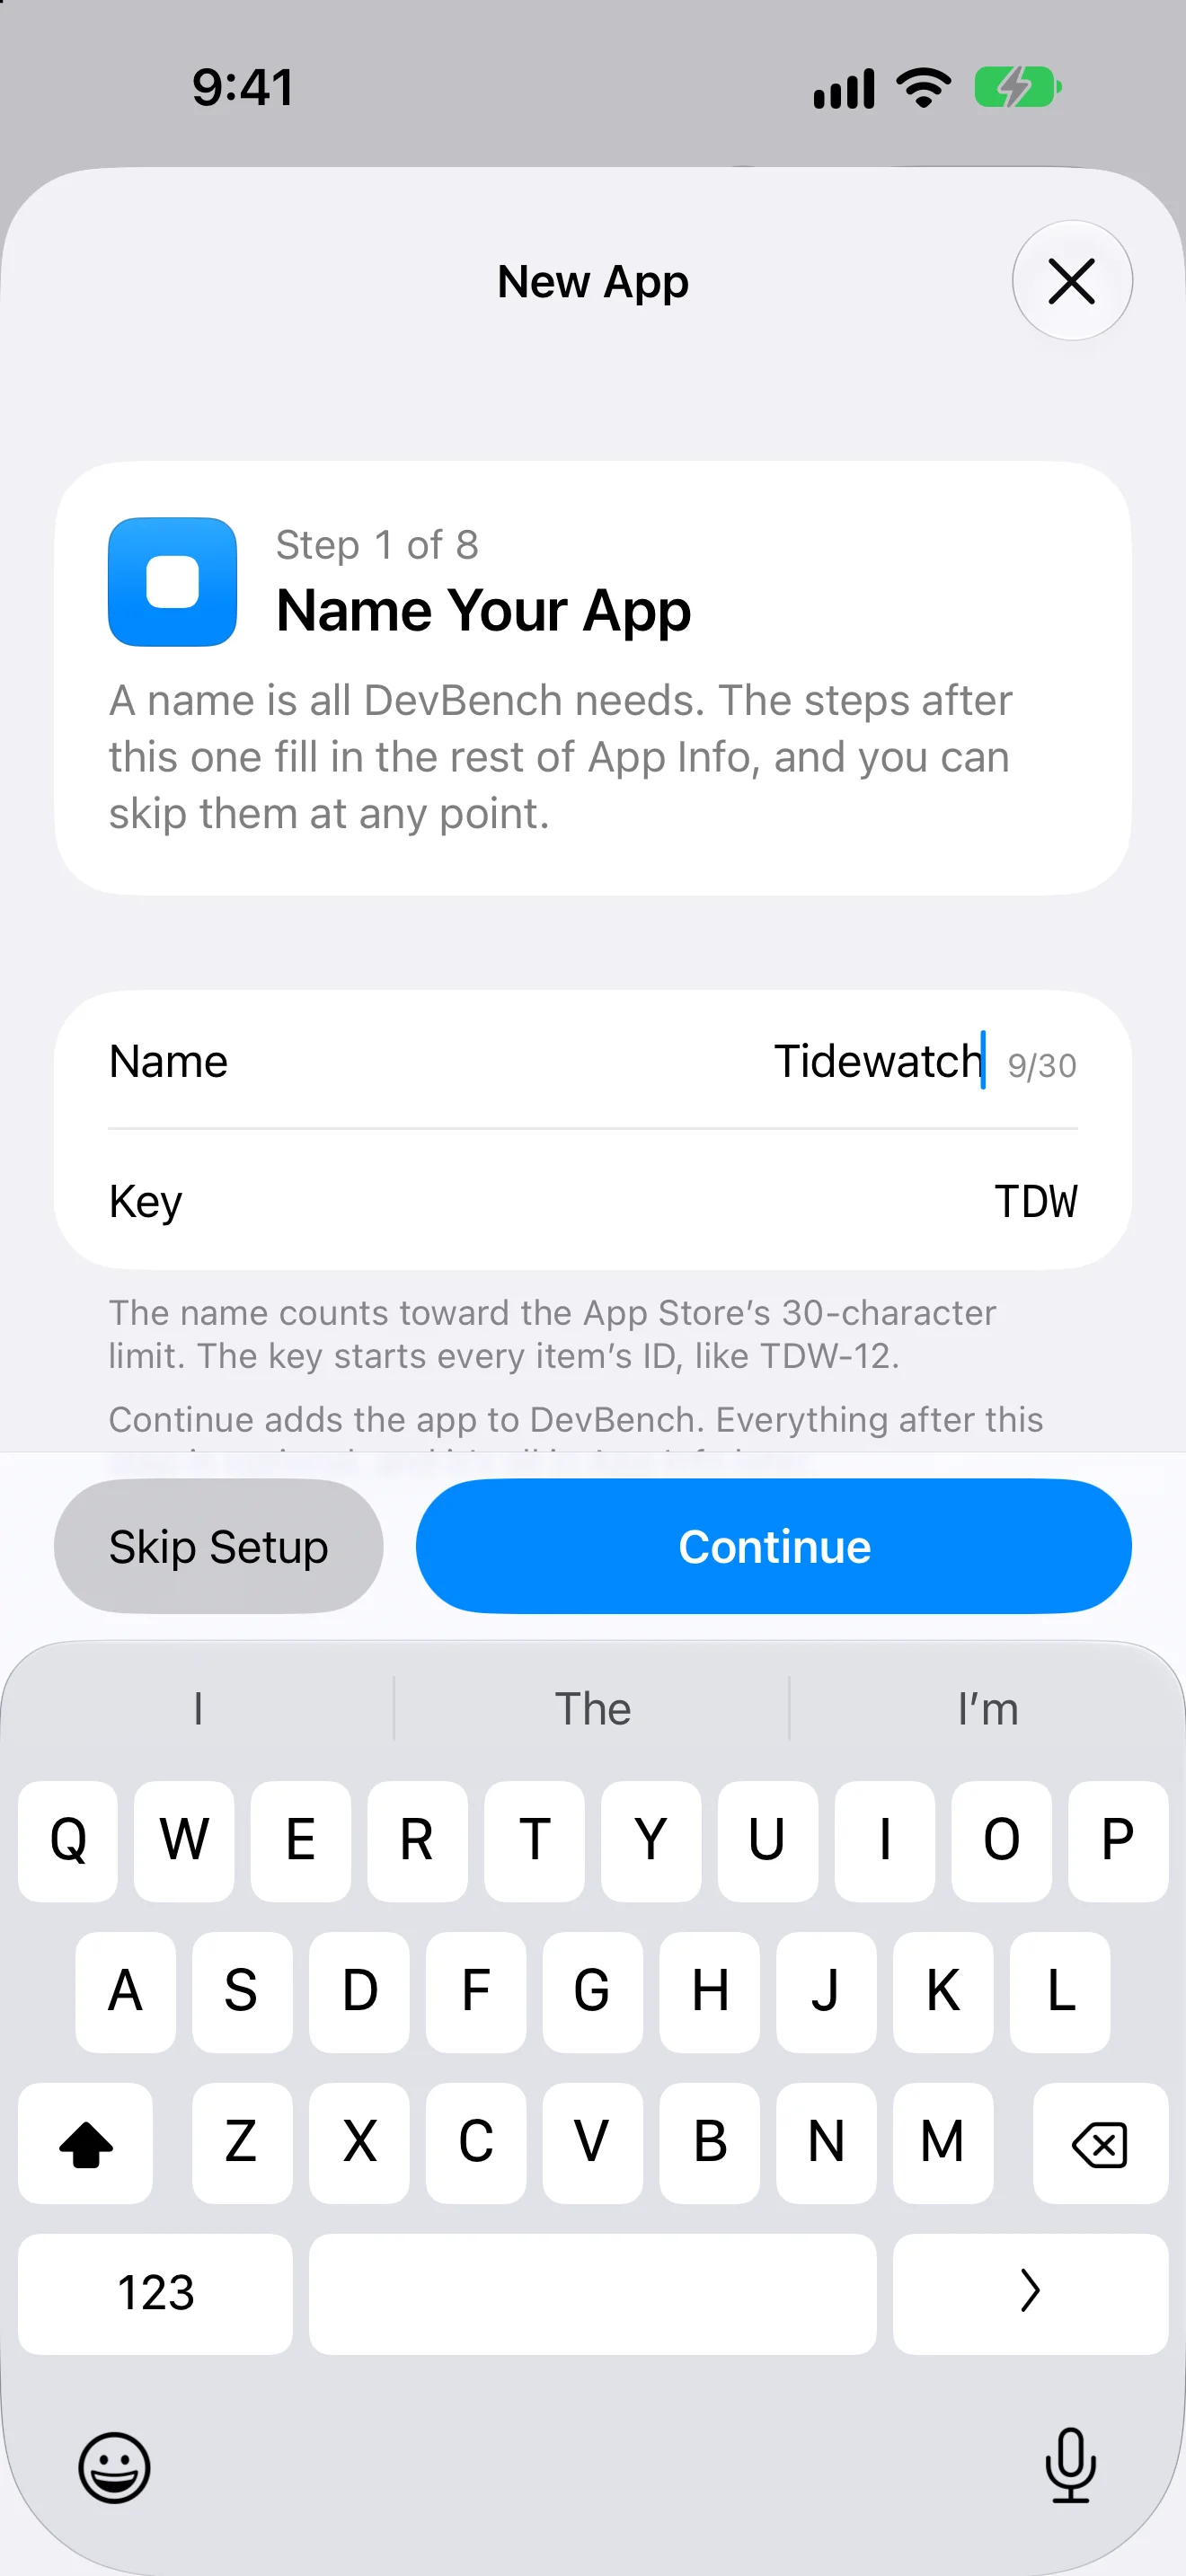
- Enter the app’s name. DevBench suggests a key from it, such as WTH, and numbers items with it: WTH-1, WTH-2 and so on. You can type your own key instead.
- Choose Continue. The app is added, and the New App walkthrough moves on to the rest of App Info.
- Fill in what you have and choose Continue, or choose Skip the Rest to finish later in App Info.
- On the first step, Skip Setup adds the app with just its name and key.
The New App walkthrough
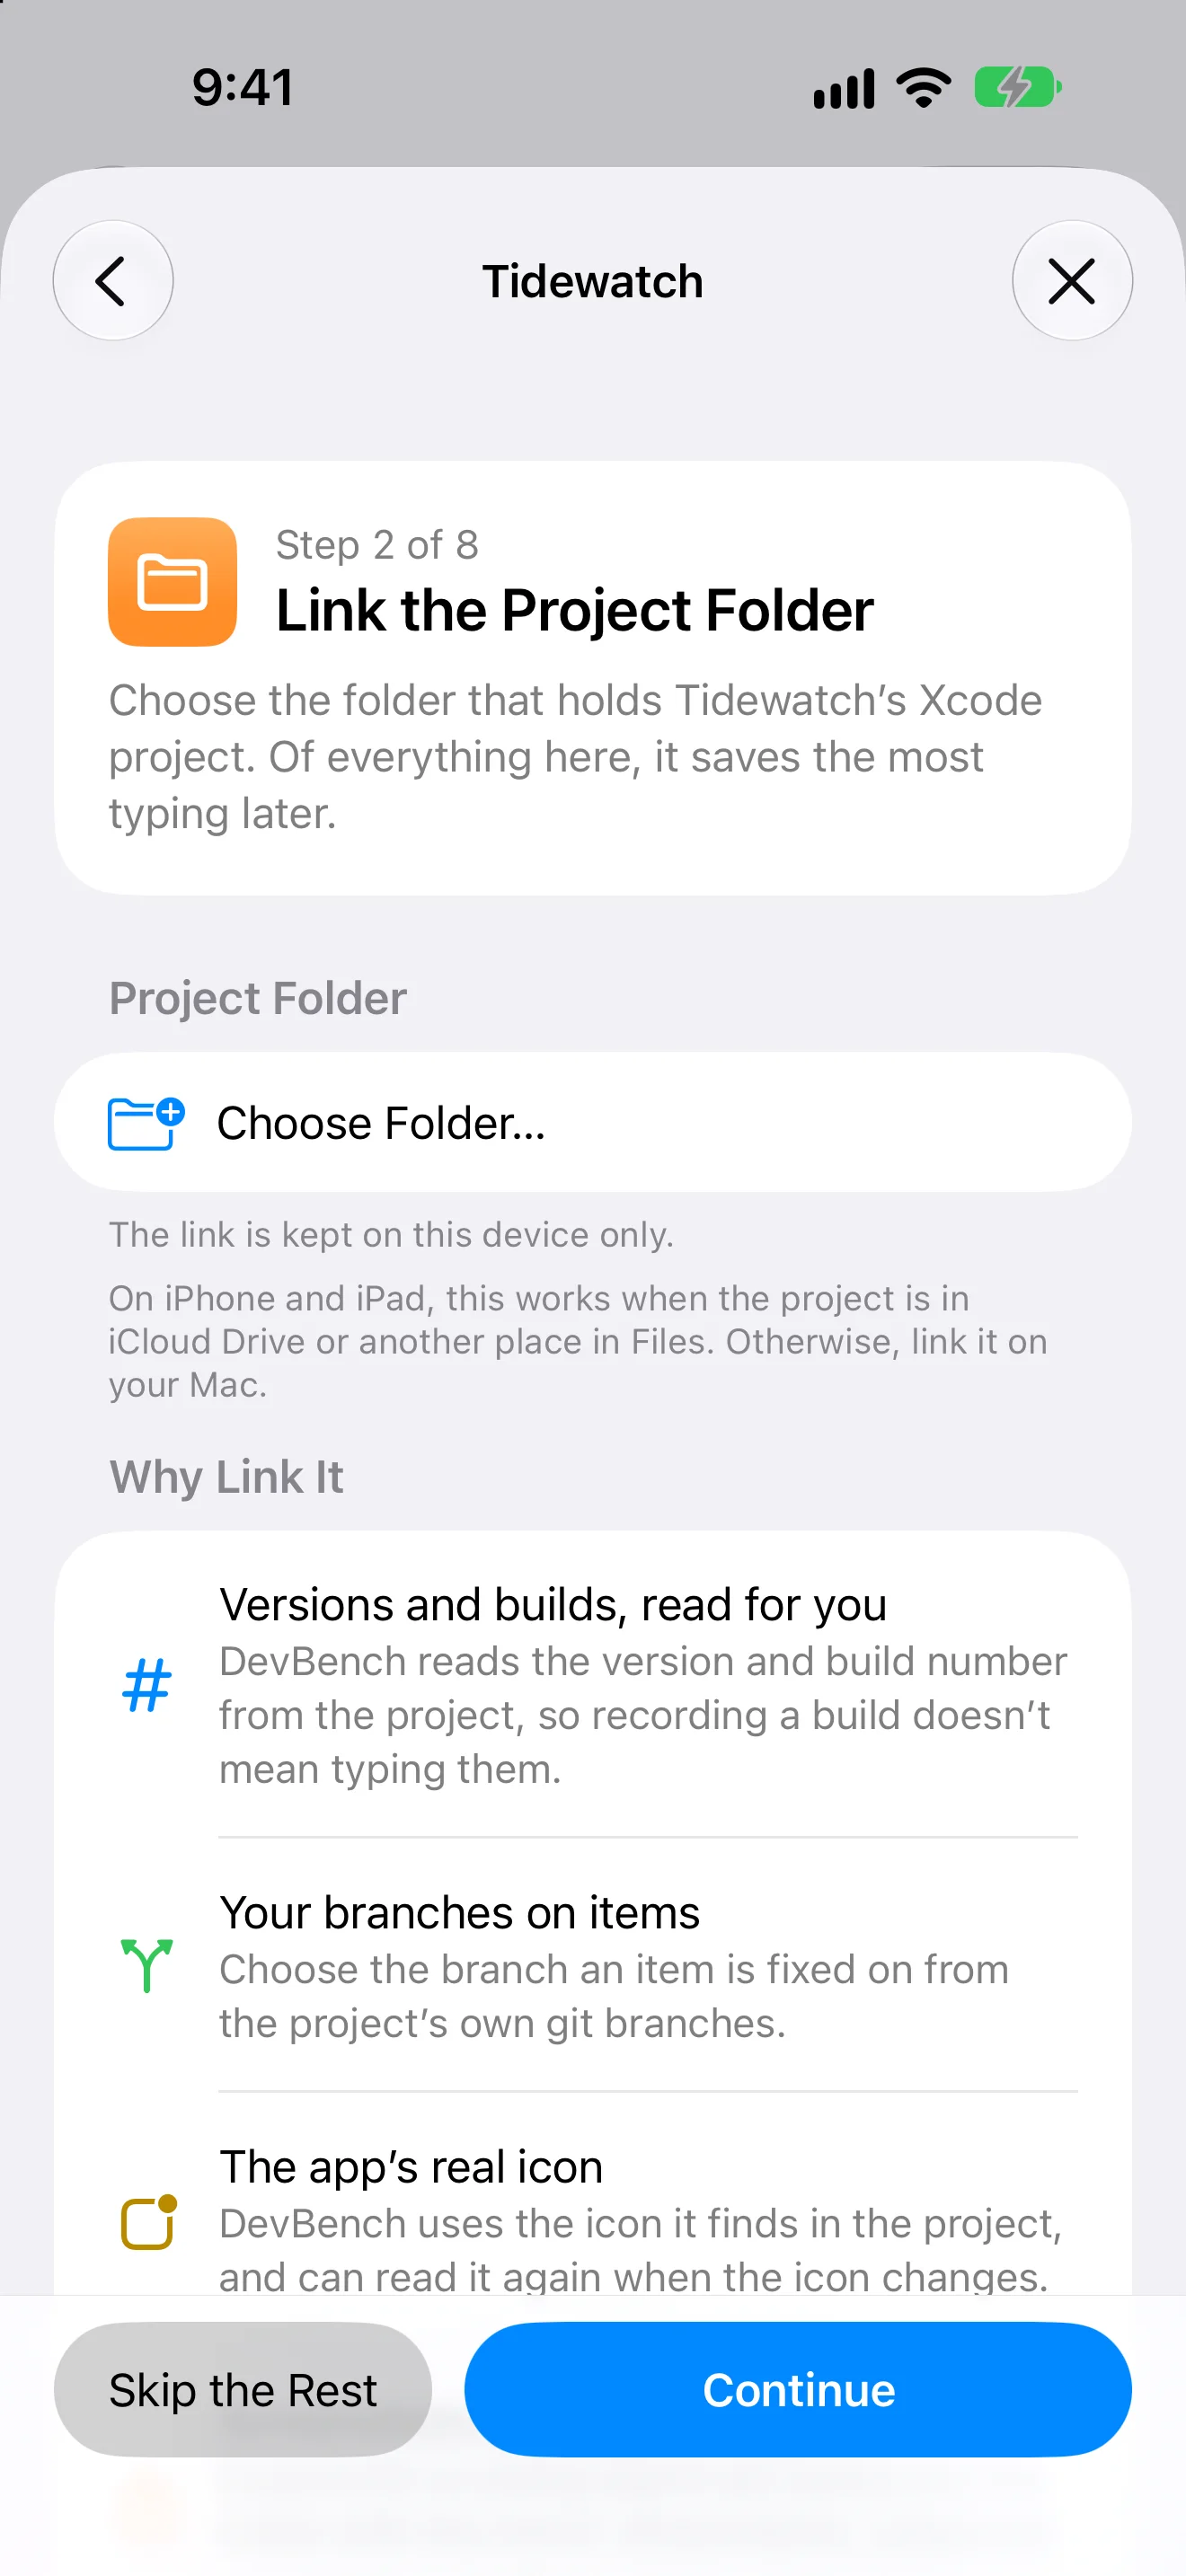
Adding an app takes you through App Info one step at a time, shown as Step 1 of 8 and so on. Only the first step is required. The rest are optional, and everything is in App Info later.
- Name Your App
- The name and the key. Continue adds the app.
- Link the Project Folder
- The folder that holds the app’s Xcode project. Of everything here, it saves the most typing later.
- Choose Its Icon
- The app’s own icon, or a symbol on a color.
- Platforms and Builds
- Where the app ships, whether it uses TestFlight, and how its builds are numbered.
- Add Its Links
- The App Store, TestFlight, support and other addresses, each a click away to open or copy.
- Draft the App Store Text
- Subtitle, promotional text, keywords and description, against the App Store’s limits.
- Set Up Releases
- The submission checklist, and the templates for release notes and What to Test. The defaults work as they are.
- Notes and Custom Fields
- Anything else worth keeping with the app, under your own labels.
- Skip the Rest closes the walkthrough. What you’ve filled in is saved.
Link the project folder
Linking is optional, but it saves the most typing. DevBench reads the version, build number and branch from your project, uses the app’s real icon, and tells your coding agent which app it’s working on.
- In the New App walkthrough, go to Link the Project Folder. For an app you already have, open its App Info (⌘I on Mac) and choose Project Folder.
- Use Choose Folder… to pick the folder that contains the app’s Xcode project.
- The link is kept on that device only. If your project lives in iCloud Drive, each of your devices asks you to confirm the folder once, because permission to read a folder can’t be shared between devices.
- On iPhone and iPad, linking works when the project is in iCloud Drive or another place in Files. Otherwise, link it on your Mac.
- On Mac, once you’ve connected a coding agent, DevBench sets up each folder you link for your agents too.
Capture your first item
Press ⌘N, or tap New Item, and type a title. That’s enough: the item goes to the app’s backlog as Not Started, and you can add notes, screenshots and a checklist later.
The Getting Started list
Until you’ve tried the basics, a Getting Started section leads the sidebar (on iPhone, DevBench’s main screen). Choose a step to do it right there. Each step is checked off once it’s really been done.
- Add Your First App
- Each app keeps its own bugs, ideas, versions and releases.
- Capture an Item
- A bug, idea, change or task: the title now, the details later.
- Link a Project Folder
- On Mac. DevBench reads the version, build number and branch from the Xcode project.
- Connect Coding Agents
- On Mac. Claude Code, Codex and Cursor can file bugs and report their fixes.
- Capture from Anywhere
- On iPhone and iPad. The share sheet, Siri, Control Center and widgets file straight to the backlog.
- Record a Build
- Tell DevBench about a build you made. Its items follow it to TestFlight, App Review and the App Store.
- A step that doesn’t apply to you, such as coding agents if you don’t use one, can be skipped with Skip This Step.
- The section goes away once everything is done. To dismiss it sooner, choose Hide Getting Started.
App Info
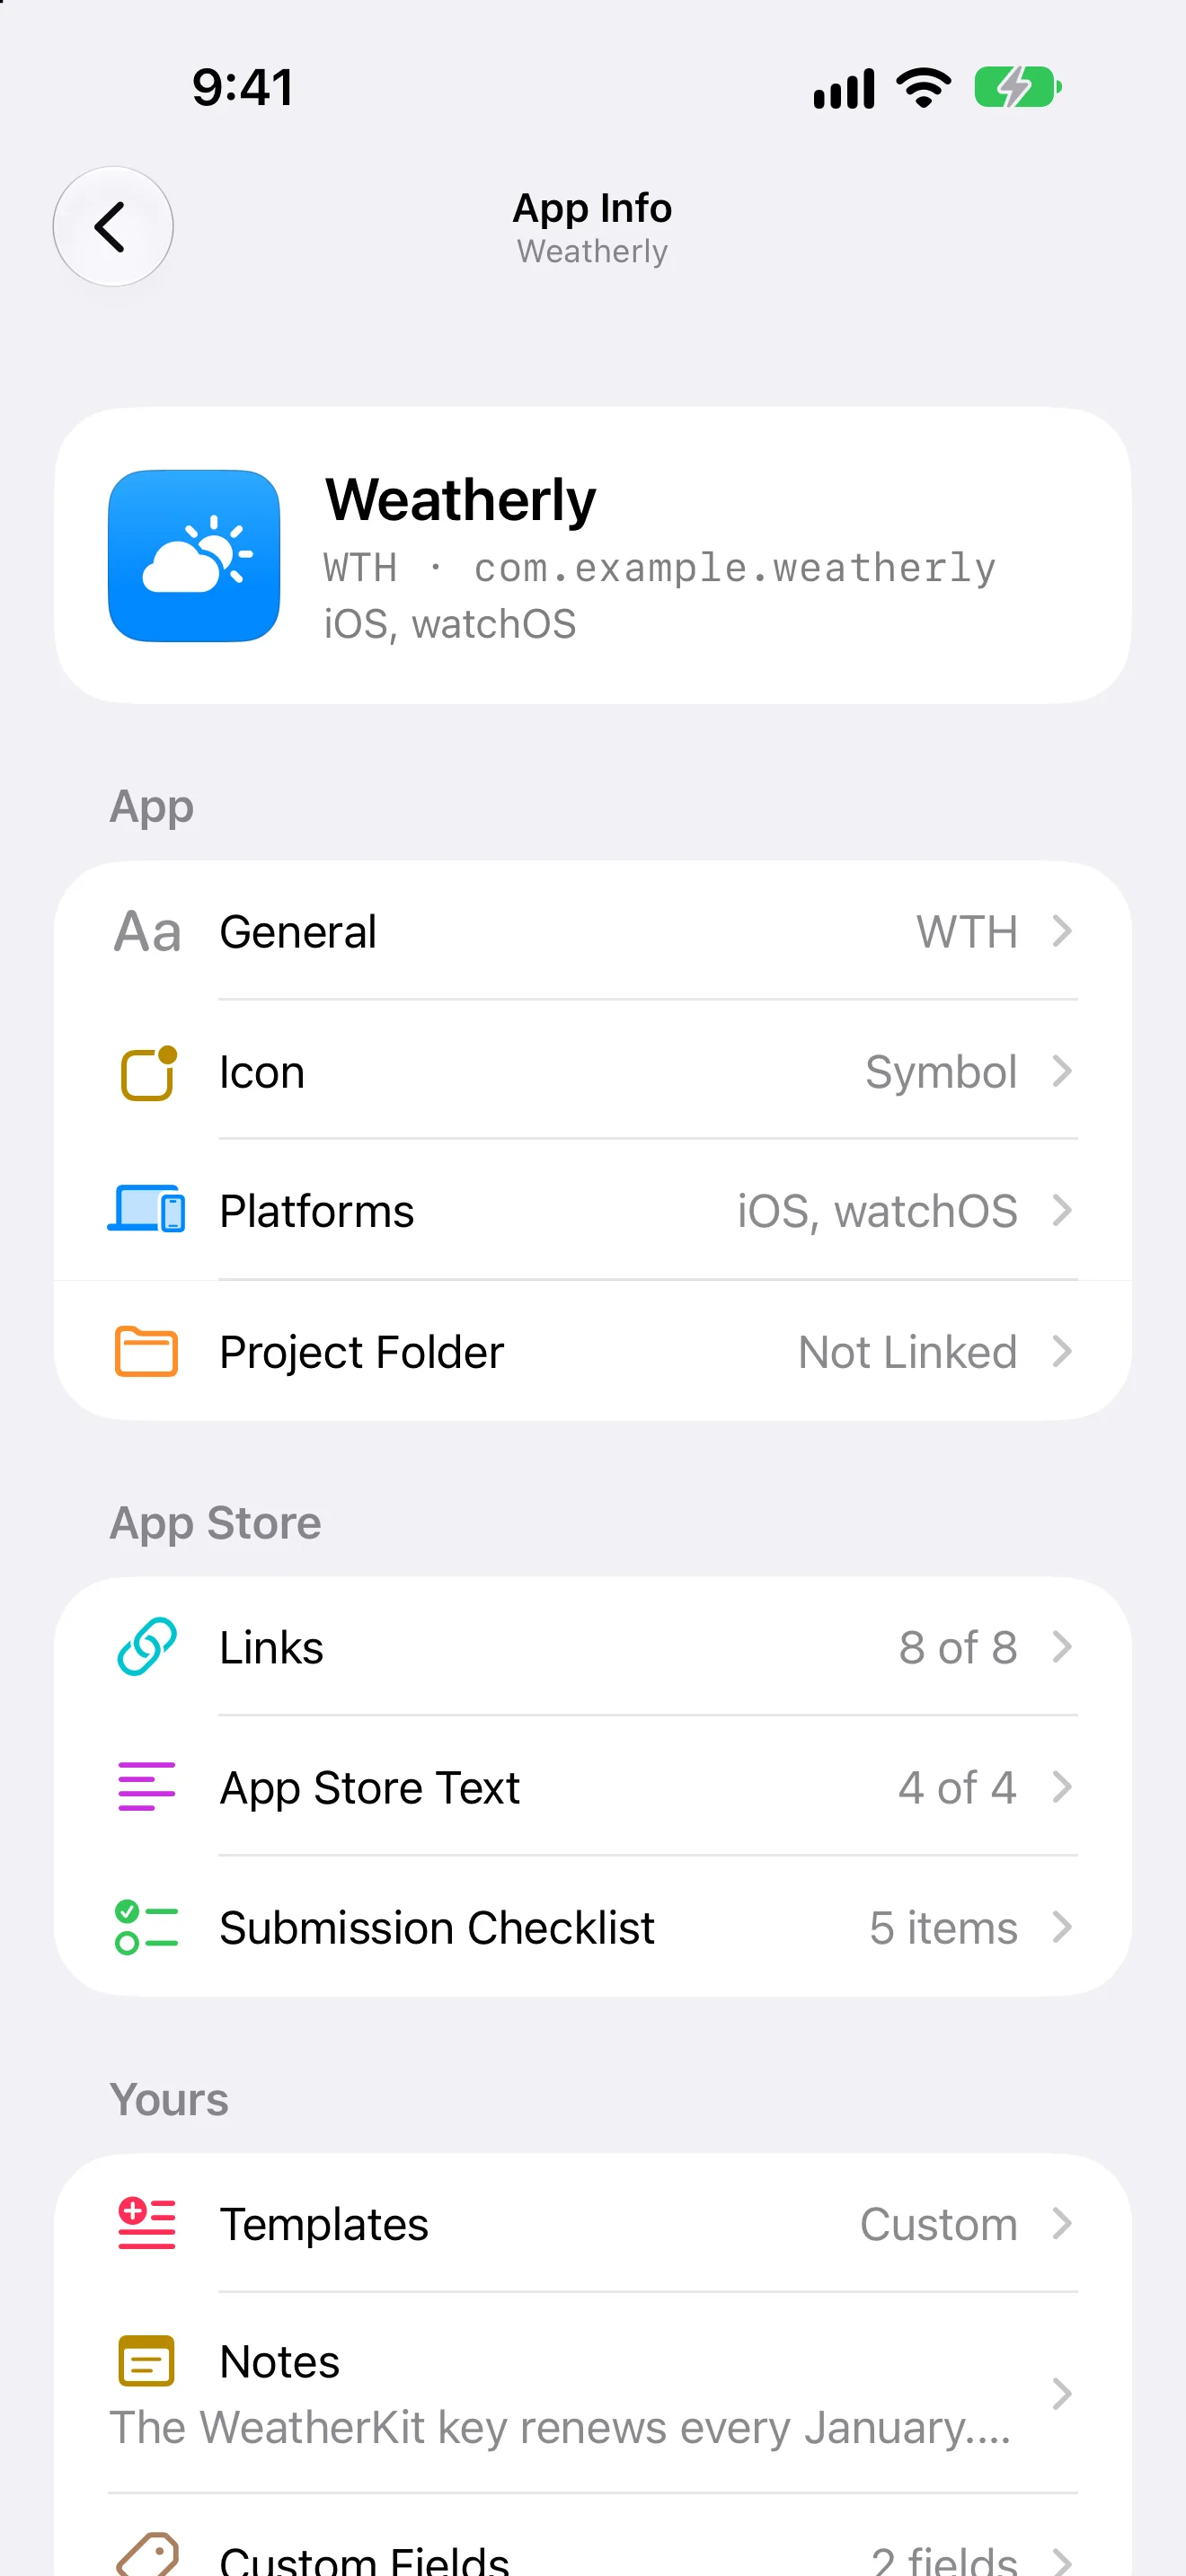
Each app keeps its own details in App Info: links (App Store, TestFlight, privacy policy, support), App Store text with live character limits, a submission checklist, release notes templates, notes and custom fields.
Where to go next
Once your first app and item are in, these are the three things most people set up next.
Connect a coding agent on your MacCapture from the share sheet, Siri and Control CenterRecord your first build